
Prepping for Trout Opener
Trout Opener
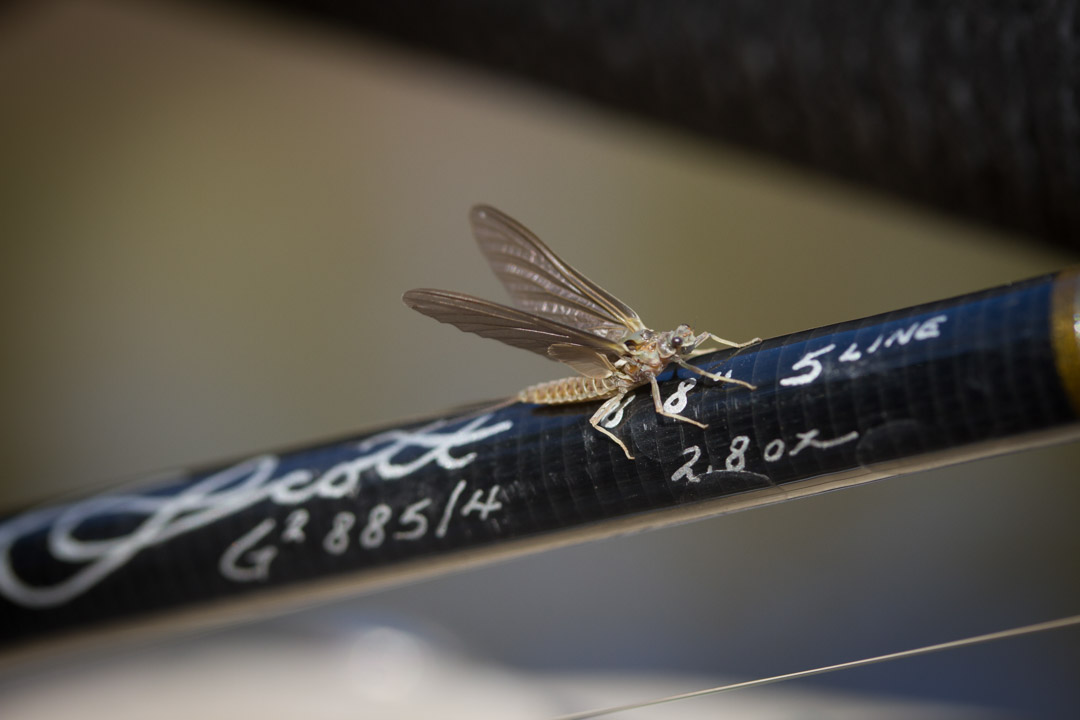
With the Michigan Trout Opener quickly approaching, are you ready and prepped for Trout Opener? It seems like a simple question, but there is a series of steps you can follow to make sure you have covered most of your basic needs for success. My hope here is to outline some routine things I try to do while prepping for Trout Opener and the upcoming season. Spending a few short hours inspecting my gear aids in its performance and ultimately contributes to my overall success, especially on the Upper Manistee. The goal here is to eliminate the obvious shortfalls that will hinder our outcomes.
Fly Box Organization
Most of us spend our winter tying flies and trying to bulk up our fly inventories so we don’t have to spend as much time tying during our fishing seasons. This is a great way to pass the idle winter months and it gives us something constructive to do. One important step you can take prepping for Trout Opener and the upcoming season is to organize your fly boxes on a per “hatch” basis.
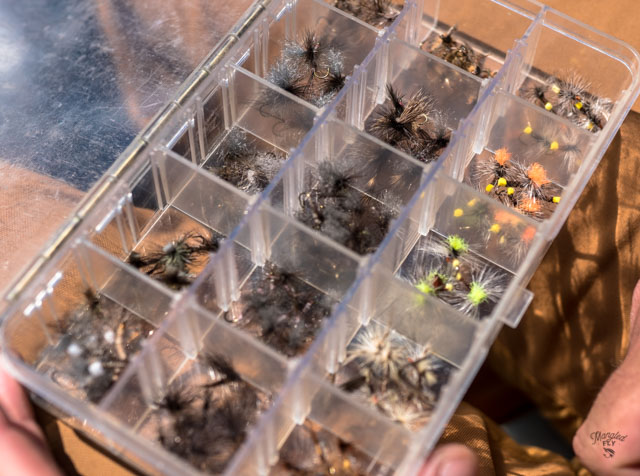
I will typically organize my fly boxes around a single “hatch”. For example, I will have one box that is completely focused on the Hendrickson hatch and another box for Sulphurs, and so on and so forth. In each of these “hatch” boxes I will have a sample of nymphs, emergers, duns, and spinners in all the appropriate sizes and colors to match all the stages of each hatch. Having all of your fly choices laid out in front of you is a good way to determine if your fly selection has any shortfalls.
Another recommendation would be to carry a second box filled with basic “attractor” patterns. This box should contain an assortment of your favourite old stand-byes such as the Adams, Robert’s Yellow Drakes, Borcher’s Drakes, Stimulators, and Elk Hair Caddis. Organizing my fly boxes in this manner allows me to carry less as the season progresses from one hatch to the next. When we begin to transition from one hatch to another, just replace the previous “hatch” box from your vest or boat bag with the next series.
Leader Prep
The ultimate goal here is to simplify the leader choices while prepping for Trout Opener and the upcoming season. Everyone has their own opinion regarding leader materials and Tippett, so we won’t delve into a dissertation here regarding which Market Brands you should choose. What Brand of leader material you choose ultimately boils down to personal preference and your overall confidence in the materials available on the market today. I tend to side towards knotless tapered leaders for the simplicity and consistency in my rigging.
Following the KISS (Keep It Simple, Stupid) concept, I prefer to use leaders in 6-7 ft. lengths with 3x diameters. This is a one size fits all scenario and I just add Tippett as needed to achieve my desired length and diameter. I will also purchase matching Tippett materials in 3x-5x spools of the same Name Brand. Keeping the brand of Tippett and leader material in the same family is also important for knot integrity and consistency. Not all leader and Tippett materials are the same so unless they are made in the same factory I would consider this as a precautionary tip when purchasing! Another important thing to note here is to avoid using fluorocarbon Tippet and Leaders for your Dry Fly fishing needs. Nylon monofilament materials float better and ride higher in the water column, making them the preferred choice.
One last tip, this was something my grandfather preached and it has always stuck with me, learn to tie one knot and tie it well! There are a lot of great knots you can use to connect Tippett to leader, fly to Tippett, leader to fly line, etc. Find one knot that you can tie effectively for each connection and practice tying those knots before heading to the stream.
Cleaning Your Gear
Fly line selection is an important consideration when it comes to presentation and success. There are countless fly line tapers and configurations available on today’s market and the choices can be overwhelming to consider. What if I told you that cleaning your fly line is arguably more important when it comes to presentation and your overall success? At todays retail prices replacing your fly line every season becomes an expensive endeavor when compared to the cost effective alternative of purchasing a Fly Line Cleaner. Spending a few minutes cleaning your lines before you head to the water should be a recommended practice. Giving your lines a thorough cleaning before the upcoming season and then again as time permits will prolong the life of your fly line and improve its overall performance. You don’t want your floating line to sink while fishing Dry Flies. Conditioning your line before each trip will help prevent the line from cracking and will maintain its ability to float.
Here are a couple of “guide hacks” you can use in a pinch if your line isn’t performing well. Consider carrying a zip lock bag with some Armor All Wipes to use on the front portion of the taper if it begins to sink. I prefer the cleaning wipes as they will clean and coat the line. Another trick I will use is to apply a Silicone Gel Floatant to the portion of the line that is problematic. It’s not a permanent fix, but it can solve your problem in the short term and keep you fishing during a hatch. Just make sure to keep the Floatant off of your leader, otherwise you will prevent the leader from settling into the surface film which makes it more visible to the fish. As an added side note, most floatants will leave an opaque residue on your leader. This residue can become quite noticeable to the naked eye in colder temperatures and may also alert the fish to your presence.
Waxing Your Ferrules
Now that you have cleaned your fly lines, here is one more consideration in prepping for Trout Opener and the upcoming season. I highly recommend cleaning and waxing your fly rod ferrules. I see more rods break due to loose ferrules which twist and separate during normal fishing activity creating a weak spot where the rod can break the next time it comes under a heavy load. Dirt and sand can also cause damage to your ferrules and your fly rod’s finish. When a foreign object like a grain of sand finds its way into the Ferrule it can scratch up the finish and ultimately create a weak spot that will become stressed over time.
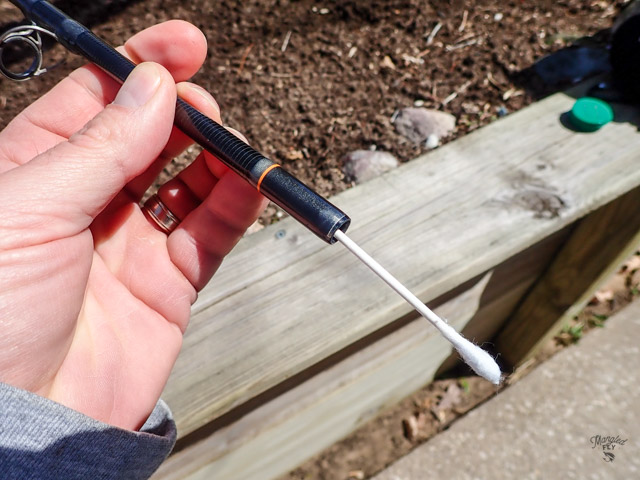
Using a Q-tip or pipe cleaning material to remove any sand and dirt particles prior to cleaning is a routine practice for me. Our Michigan Trout Streams are characterized by heavy sand bed loads and sand will find its way into everything! Once I have cleaned all the joints I will apply some Paraffin Wax on the male ends of each Fly Rod section before twisting them together.
Waxing your Ferrules provides a dual benefit to your fly rod’s performance. It will keep the spine of the rod aligned which improves the casting performance and it prevents the rod sections from twisting and loosening while fishing. Secondarily there is an added benefit at the end of the day as well. Waxing your ferrules makes disassembly easier when you are getting ready to travel home. I always carry some wax in my vest or boat bag and reapply as necessary throughout the remainder of the season.
Ready for Trout Opener
I hope these simple tips will offer you some assistance in prepping for Trout Opener and your next outing. Taking a few minutes to organize and clean your gear before hitting the water can save you some downtime in the face of a mishap. It can also prevent you from forgetting something of relative importance as you head out to the stream during your first outing. I hope everyone is looking forward to the upcoming season as you begin prepping for Trout Opener, I know we are with great anticipation! Enjoy the Opening weekend traditions and we look forward to seeing everyone on the water soon as we explore the many great fishing opportunities that Michigan has to offer.
Tight Lines,
Ed


Comments are closed.