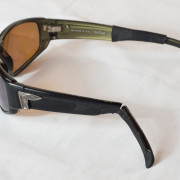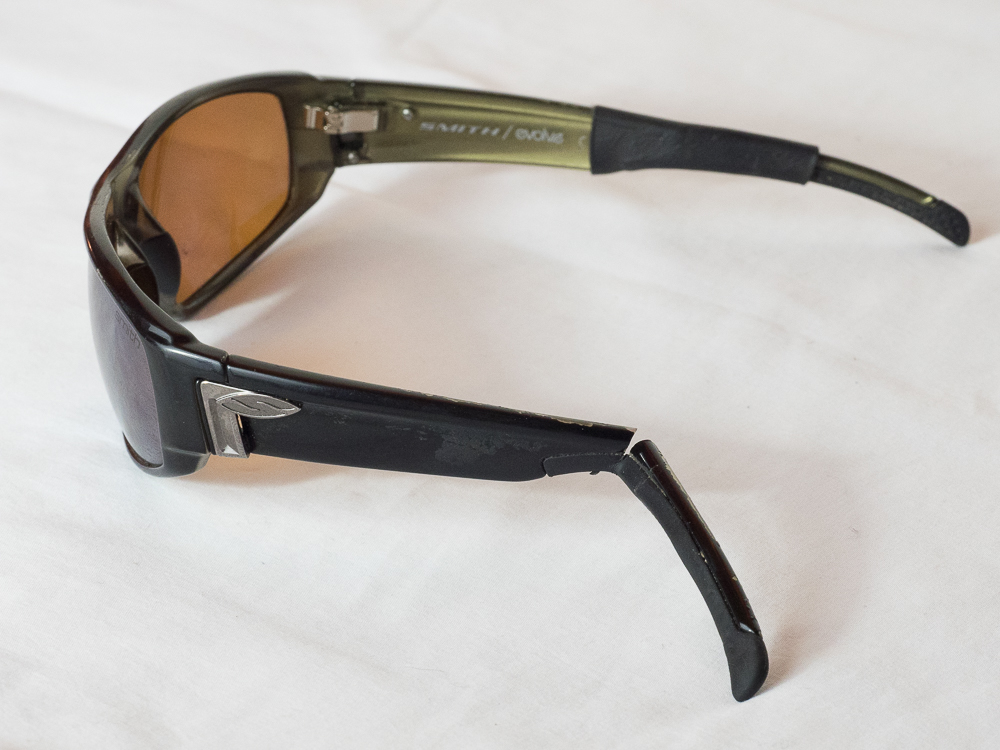
These sunglasses are in need of repair. This is not the first time, as you can see if you look carefully…
When you think of destructive forces in nature, you think of various storms and earthquakes, etc. On a smaller scale, you could argue that a two year old is similar. Our son Zach is a wonderful source of joy in our lives. However, he possesses a unique destructive ability, and some pieces of gear have fallen prey to him in recent months.
Most recently, my favorite sunglasses are the victim. I mistakenly set them down in a reachable spot, and before I knew it, they were vaulting majestically across the room, only to break upon impact on the wood floor. I find that rather than send things back for repair, I will try to fix them myself if at all possible. Sending a piece of gear back to the factory takes time, and that time is valuable with useful things like sunglasses. Also, my experience with sunglasses is that after you send them back, they might not be repairable. A few weeks down the road, you might hear that they are being sent back to you unfixed. Thus, Do-It-Yourself repair might be an option.
There is a simple, inexpensive way to fix the broken arm of a sunglass. Here is a list of things you need to make this happen:
- 1″ of heat shrink tube, just larger than the arm of the sunglasses. This is available in many colors, including clear, though black is the most common.
- A heat source; a heat gun is your best option because it usually won’t melt any part of the sunglasses (can’t make any promises, so you are on your own with this). A small butane torch could also be used, as well as a lighter. However, these are more likely to cause damage to your glasses (I have most unfortunately learned this the hard way).
- Gorilla Tape or other similar product: This is optional. You could also use glue to prep the arm. The shrink tube itself may be sufficient.
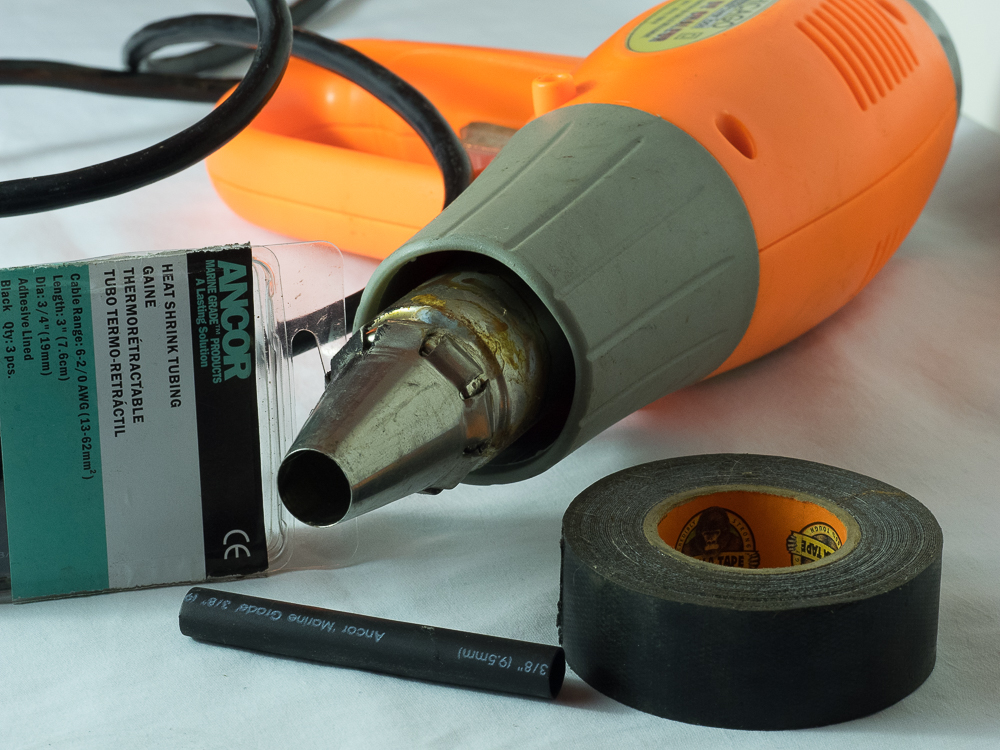
This is all you need for a simple repair of most sunglass arms
Here are the steps to fixing them, in images:
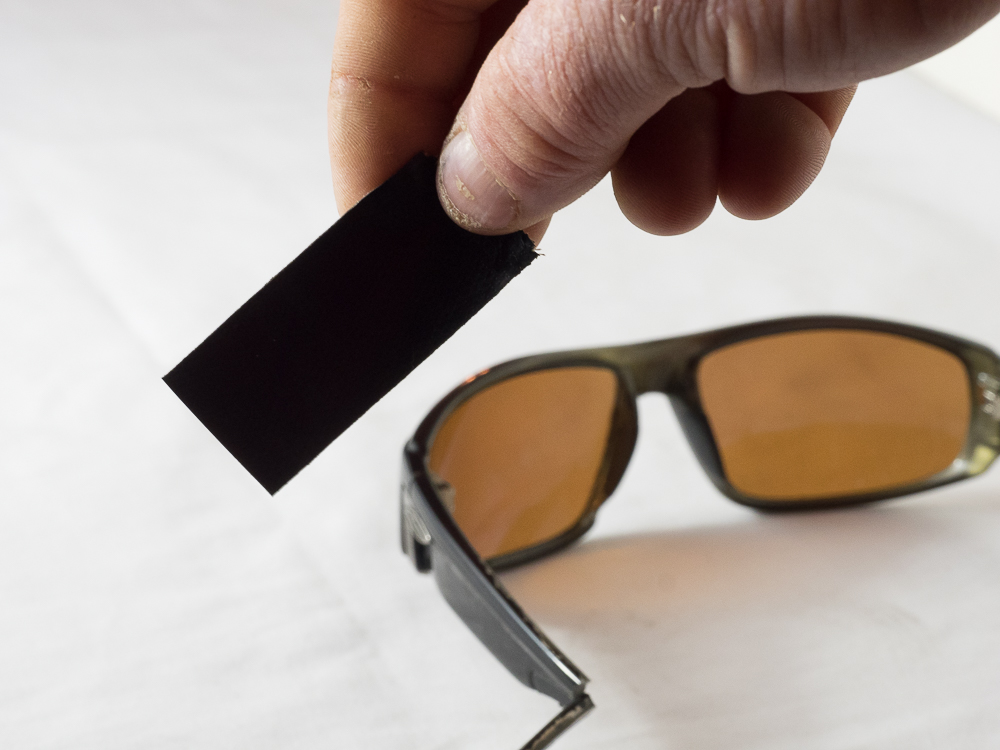
Step 1: Measure an inch or so of tape
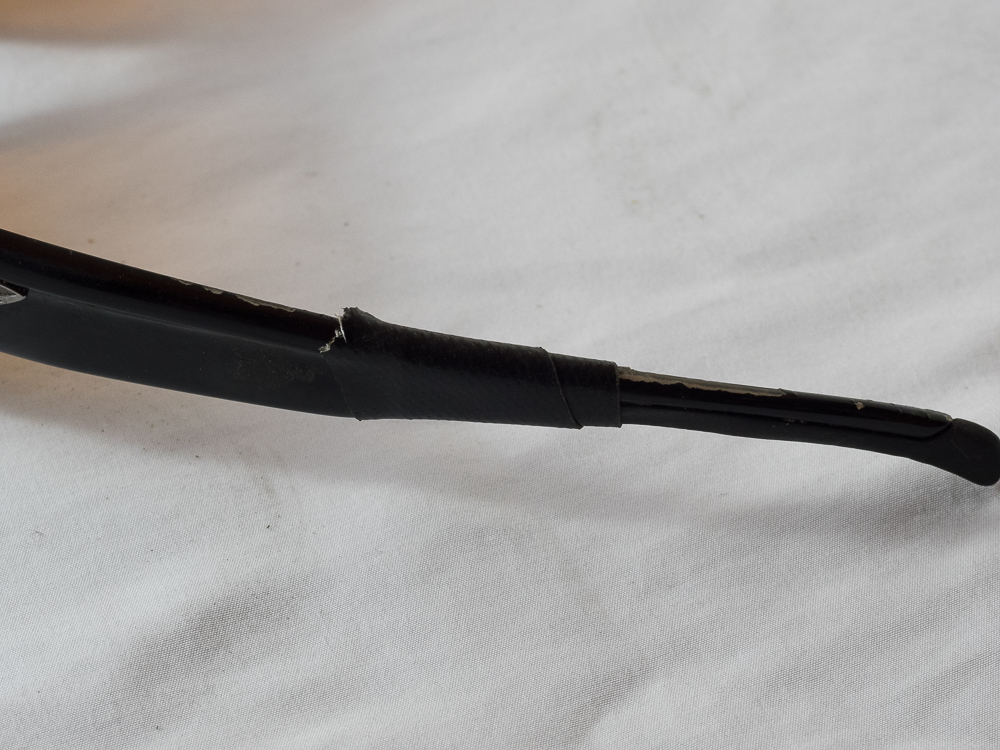
Step 2: Wrap the tape over the broken arm. This by itself would not make the arm strong enough.
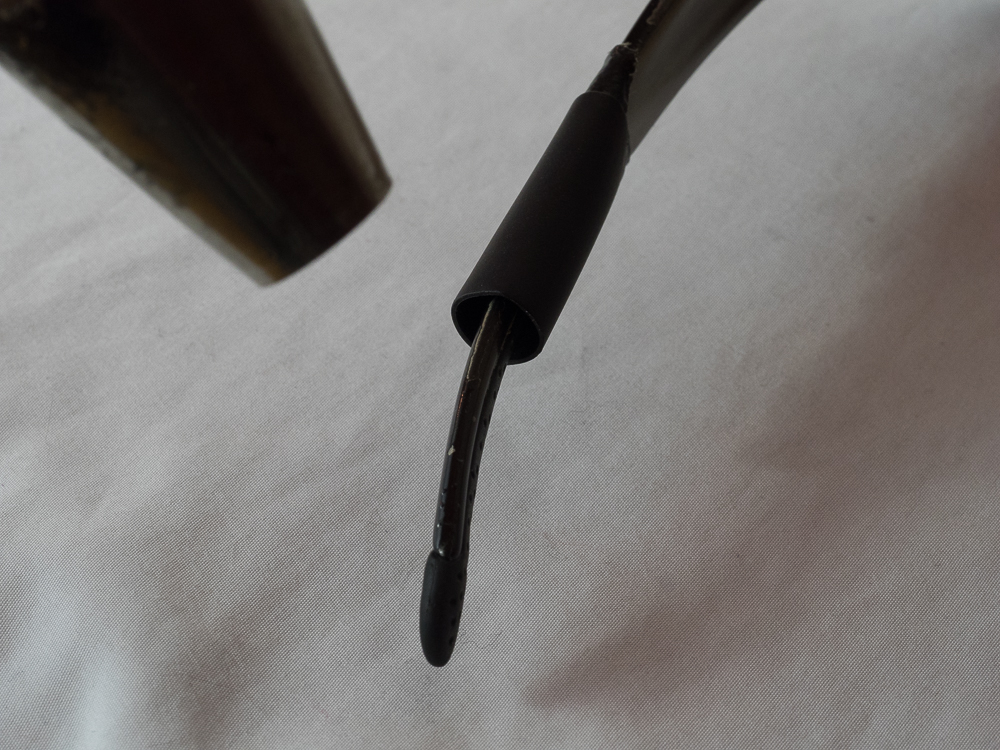
Step 3: Using an electric heat gun on its lowest setting, slowly heat the shrink tubing until tight around the end
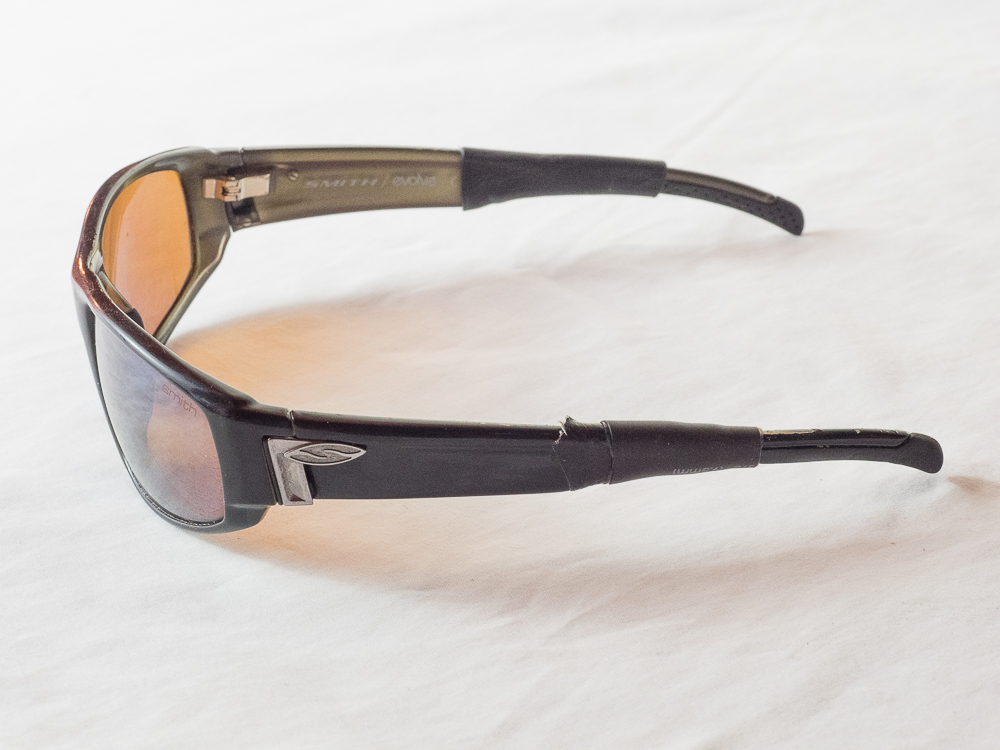
That’s it, you are done!
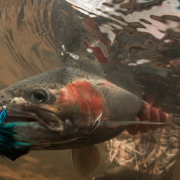
That’s all there is to it! It may not look pretty. However, usually it blends in quite well and no one is looking at your ears. This is especially true if you are catching fish…
Thanks for looking!
Kevin Feenstra


